
I was inspired by David Singleton’s blog post earlier this year on his weekend project – a self-driving RC car. I decided to independently replicate this project using a Lego Mindstorms robot instead of an RC car. I had almost no experience with Neural Networks, so I wasn’t sure I’d be able to make it work at all … but lo and behold … it worked.
Setup
All my code (written in Python) runs on a Windows 7 machine. This box talks to the Lego NXT brick via Bluetooth. I use an Android phone for grabbing camera images. The phone is connected to my home network via wifi.
Driving the Lego Mindstorms robot
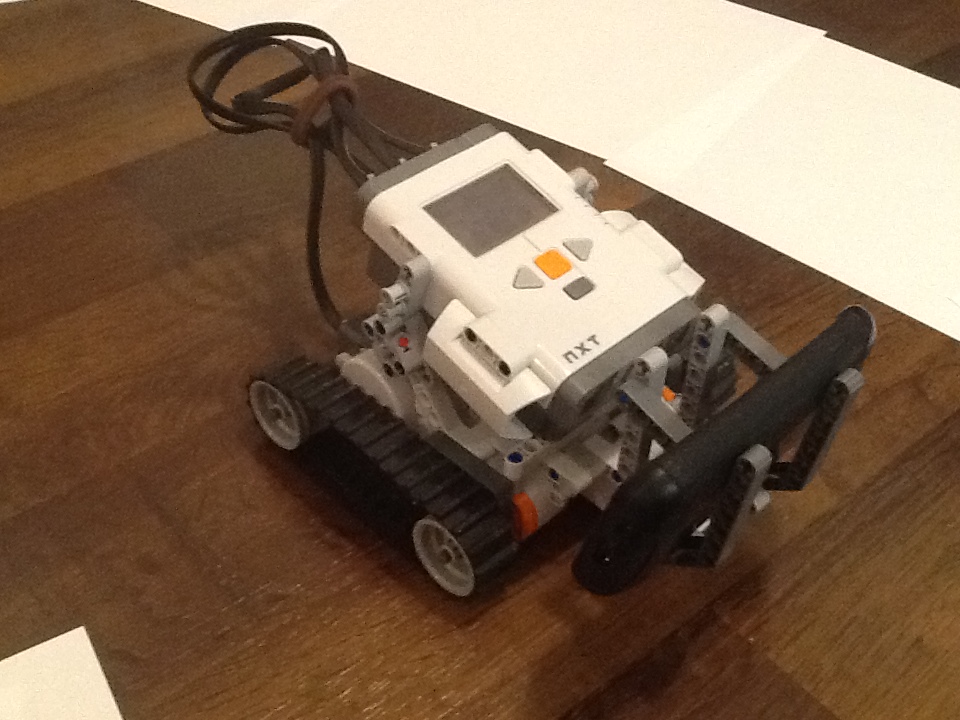
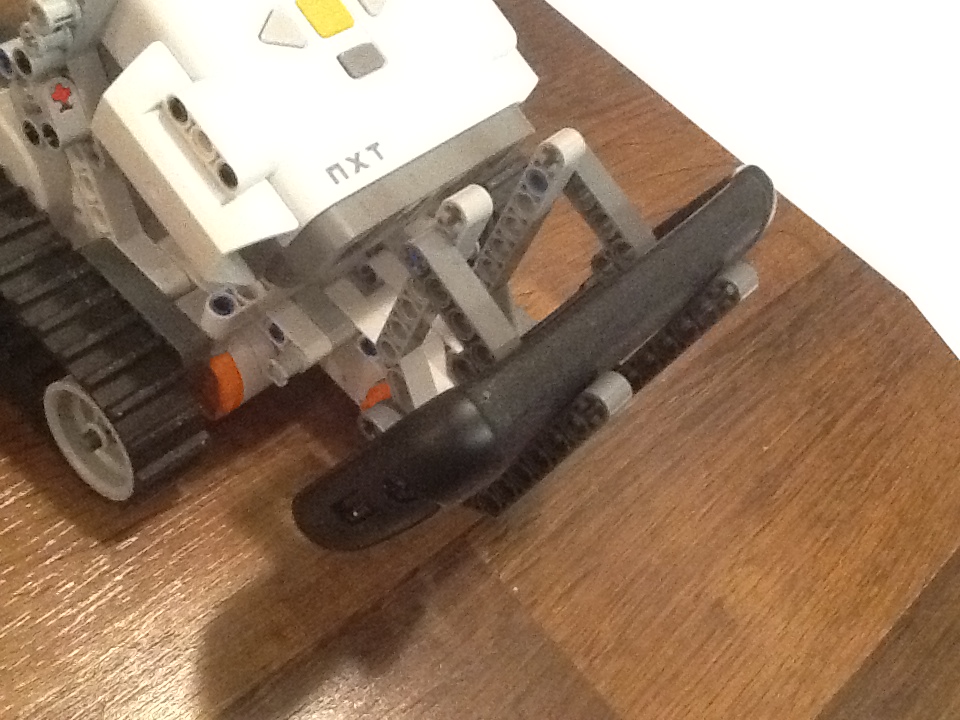
I used the fantastic nxt-python project to interface by computer to the Lego Mindstorms robot. The physical robot was a slight modification of the “Quick Start” robot in the Mindstorms instruction manual. This is a tracked robot, with independent motors controlling the left and right tracks. I added a “holder” where I could securly place my camera phone. I implemented a “keyboard teleop” mode, wherein I type commands into a python CLI and get my robot to make the appropriate movement.
Getting images from the camera phone
I initially thought about writing my own app to capture images from my phone (an Android Nexus S). However, I found a free app called IP Webcam that allowed me to take snapshots from the phone via a URL. The lowest resolution at which I could get images was 176×144; I processed these images on the desktop before sending them to the neural network.
Processing the images on desktop
I used the Python Imaging Library to first convert the images to greyscale and then lower their resolution to 100×100.
Enter the Neural Network
This was the key part of the project. I went through Andrew Ng’s lectures on Neural Networks, and played around with the assignments on the topic (recognizing hand-written digits using Neural Networks). Luckily, I found the pybrain project, which provides a very easy interface for using Neural Nets in Python. Similar to David, I used a three level network. The first layer had 100×100 nodes. The hidden layer had 64 units (I used the same number that worked for David). Unlike David, I only had three output units – forward, left and right.
Training the “brain”
I built a “driving course” in my living room. I drove around the course only 10 times and trained network for about an hour (I was very excited to know if this was going to work and couldn’t wait ![]() ).
).
Auto-drive mode
The code for auto-drive mode was pretty similar to training mode. I took an image from the camera phone, processed it (greyscale and lowered the res to 100×100) and activated it against the neural net I had trained. The output is one of three commands (forward, left or right), which I send to the same “drive(cmd)” function I used in training mode. I put a 250 ms sleep between each command to ensure the robot had enough time to complete its motion.
The Self-Driving Lego Mindstorms Robot comes to life!
It worked! Mostly. About 2/3 of the time, the robot could go through the entire course without any “accidents”. About 1/3 of the time, the robot’s motion takes it to a point where it can only see the track (sheets of white paper). When it gets to that state, it keeps going forward instead of making a turn. I think if I implement a “spin-90-degrees” command, that would help the robot get out of that situation. But all-in-all, I’m pretty happy with the results.
Next steps
I’ll do a more detailed write up and post my code once I get some more time. I might also try to modify the physical robot to improve the position of the camera. I suspect a better camera view would improve the driving performance of my robot even more.
Credits
Big thanks go to my fiance who puts up with me and my geeky habits. She also took the video I posted. I’d like to reiterate that this project was inspired by David Singleton’s self-driving RC car so many thanks go to him. A big big thank you to Prof. Andrew Ng for the amazing Stanford Machine Learning class that is freely provided online. And a thanks to the following projects that made mine possible: nxt-python, pybrain, python-imaging-library, and the free IP Webcam Android App.